|
At the command prompt inside Terminal, you have access to many powerful utility programs such as
dd and hexdump for viewing and copying the raw bytes of any storage media. The
dd program can be both difficult and dangerous to use, so we will first use hexdump to view a drive's
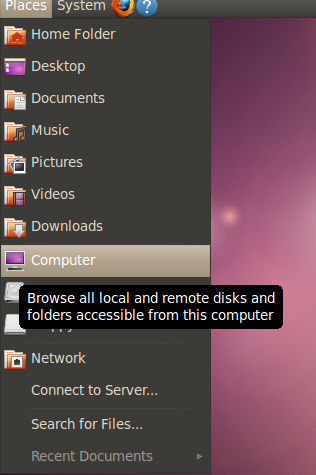
contents in the examples below, before writing data to a file in memory or to a USB drive (Note: When you connect a USB drive to the PC after
Linux has boot-up, it should automatically find and mount that drive then place an icon like this on the Desktop:  .
Saving files to a USB drive is especially useful, if you have no Internet access, or wish to save a large amount of data.) .
Saving files to a USB drive is especially useful, if you have no Internet access, or wish to save a large amount of data.)
Most often the boot drive of a PC under Linux is referred to as the "sda" drive, where "a" means the first drive.
If you connect a second or third drive, they would likely be sdb and sdc, etc. NOTE: If you have any IDE drives connected to your
PC, they will likely be referred to as "hda" (or hdb, hdc, etc.).
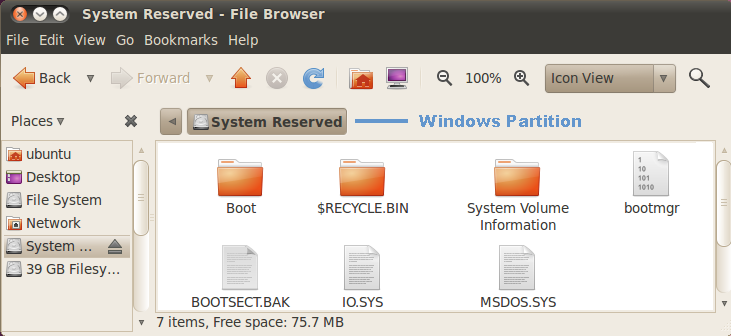
Partitions on these drives start with a 1,
so for a Windows 7 or later drive, the "System Reserved" partition would normally be accessed using the name "sda1" (but be
aware that 'name brand' PCs may have a small partition installed by the manufacturer as the first one; or elsewhere):
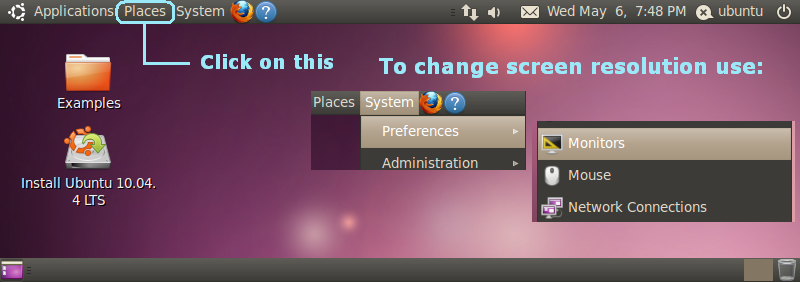
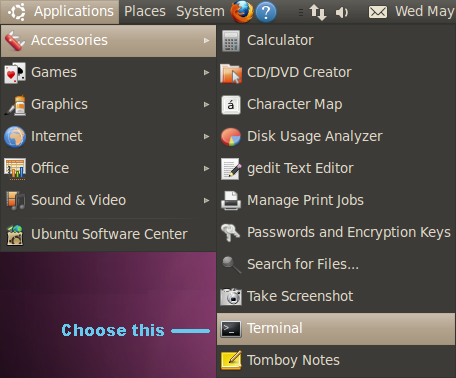
So, in order to know what
storage devices are connected to your PC, and how to refer to them in a command-line program, we believe most new users will prefer the built-in GUI
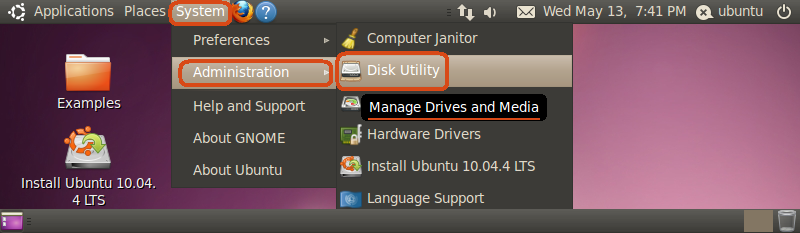
program GParted (rather than using fdisk -l at the command prompt and attempting to interpret
the data displayed there). Start GParted from the "System" and then "Administration" menu shown here:
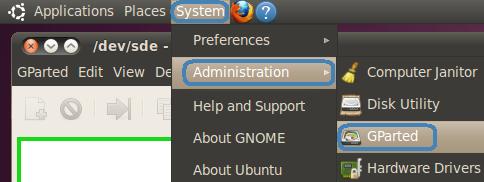
Figure 10.
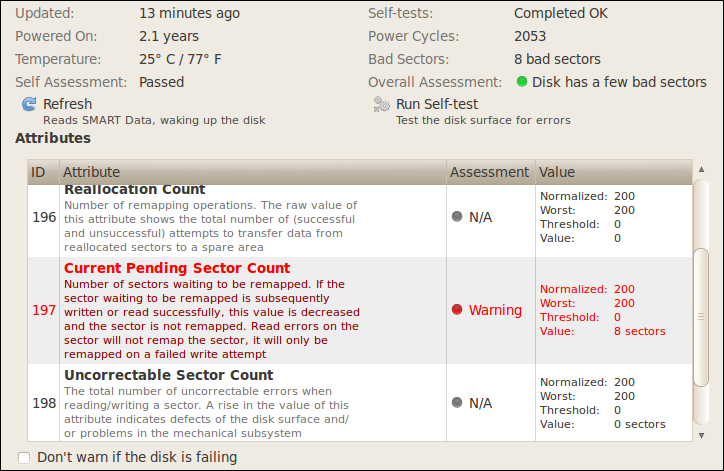
It will take some time for it to analyze all the drives' contents before showing the first drive. Use the
pull-down menu in the upper-right area of its window to select other drives! Here's how a USB drive (with the name "sde" note: all
storage devices are also prefixed by "/dev/") and its single FAT32 volume ('sde1') appeared:
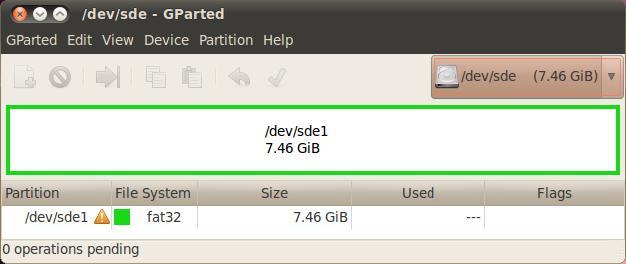
Figure 11.
(GParted may have problems showing info about a USB drive; it did for us, but the OS will not have problems writing to it.)
Now try using the hexdump command, preceded by the "sudo" command as shown here (to view the beginning sectors of
your first SATA drive):
[ 1 ] | |
sudo hexdump -Cv /dev/sda | less |
|
Note: Under earlier versions (and some other current Linux distributions), hexdump will not provide you
with the formatted output showing ASCII characters to the right of the data bytes as shown below (see Figures 12 and following); they do not have a
"-C" switch which does this. The "v" must be added to show every byte rather than skip lines full
of the same byte (and drives always have many lines of nothing but 'zero bytes' in them). We pipe ( | ) the output of hexdump through the
less utility so we can see its contents one screen at a time; otherwise, it would continue spitting out the data all the way to the end of
the drive! Use the PageDown and PageUp keys or the Up and Down Arrow keys to move forwards and backwards through the contents of the drive. Trying to use
only these keys to get much further than a few hundred sectors into a drive would take too long a time; let alone viewing bytes all the way at the
end of a large drive! (Solutions for doing so are found further below.)
Here's the output of the command above for the first sector of a Windows 7
OS boot drive (if you want to look at a 'slave drive' connected to your PC, it would likely be: /dev/sdb; a "b" instead of the "a"):
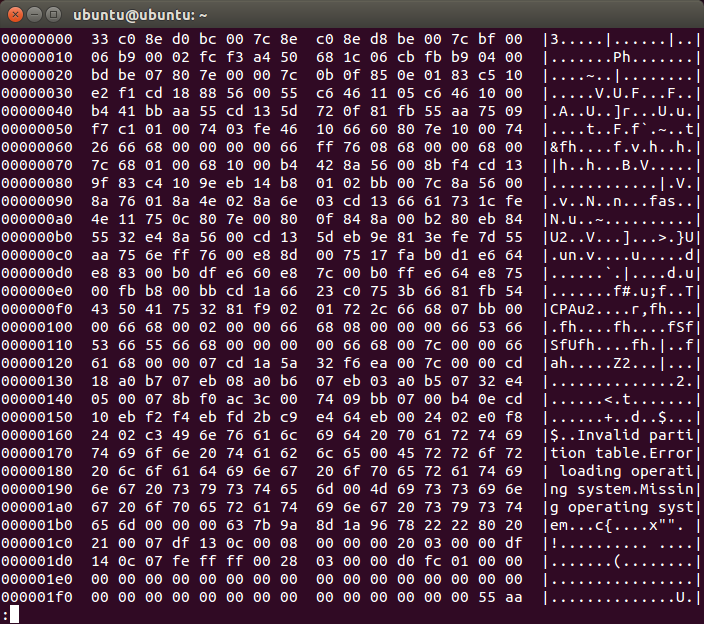
Figure 12.
Press the q key to 'quit' viewing.
If instead, you need to view the Volume Boot Record and following sectors of the first partition, simply add the digit '1' after sda (but note that the
displayed offsets will begin at zero): [ 2 ] | sudo hexdump -Cv /dev/sda1 | less |
|
Another way to view the Volume Boot Record with the offsets counting from the beginning of the disk drive is to use the -s (skip)
switch to jump directly to that sector. For most Windows 7 OS drives, we know the first Boot Record will begin at 2048 sectors (or exactly 2048 sectors
times 512 bytes/sector = 1,048,576 bytes; 1 binary Mega Byte) into the disk drive, so we could use the command: [
3 ] | sudo hexdump -Cv -s
1m /dev/sda | less |
|
To learn more about the switches available when using hexdump and the options for entering a skip value, just enter:
which begins as follows:
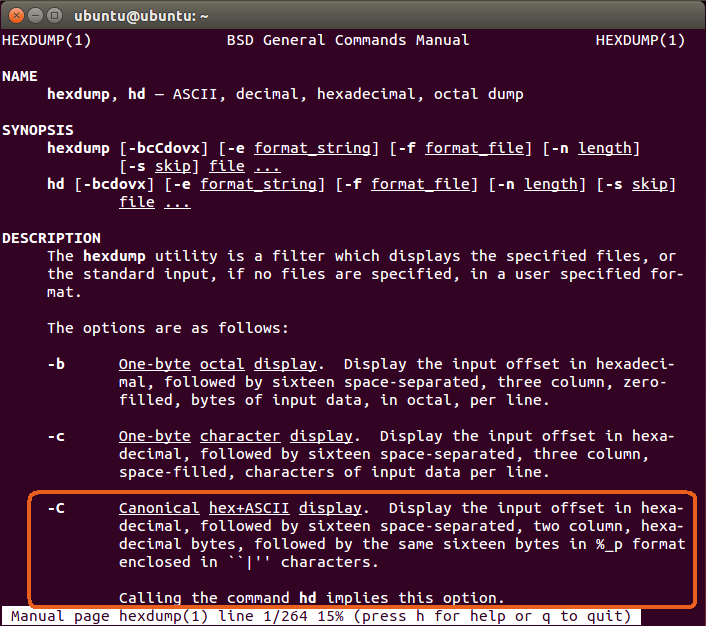
Figure 13.
NOTE: Everything in Linux is case-sensitive. The
-c (lower-casse) and -C (upper-case) options are different!
Note the "-C" switch which
we've circled in Figure 13 above. The last part means we can use the abbreviated command 'hd' to do the same thing we did in command
lines [1] - [3] above by replacing 'hexdump -C' with 'hd' as shown here: [ 5 ] | sudo hd -v /dev/sda | less
|
|
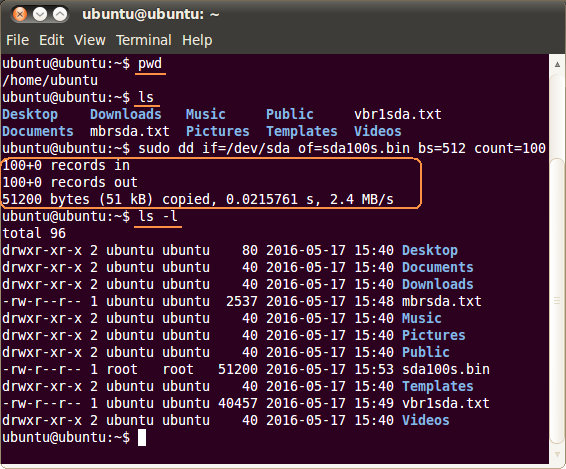
An easy way to save a text copy of a drive's MBR or VBR sectors makes use of the BASH shell's redirection symbol: > (which was
also ported into MS- and IBM-DOS long ago). This will redirect the output of hexdump from the display into a file; which could then be
viewed later or emailed elsewhere. To save a text display of only the MBR sector's contents using hexdump, enter:
[ 6 ] | sudo hd -v -n
512 /dev/sda > mbrsda.txt |
|
This command uses "-n" followed by 512 to save a display of only the first 512 bytes of /dev/sda to a text file. See
Figure 15 below for this and the other useful options/switches of hexdump. (Note for Windows users: Linux does not use extensions for file types!
We added '.txt' to the filename for those who will copy it to a Windows PC. We could just as easily use no extension at all, or even end this file with
'.exe' and Linux could care less! The following screenshot shows the Linux command file in use; enter man file for more information
on using it, which proves Linux knows this is an ASCII file; no matter what you name it:
 Figure
14.) Figure
14.)
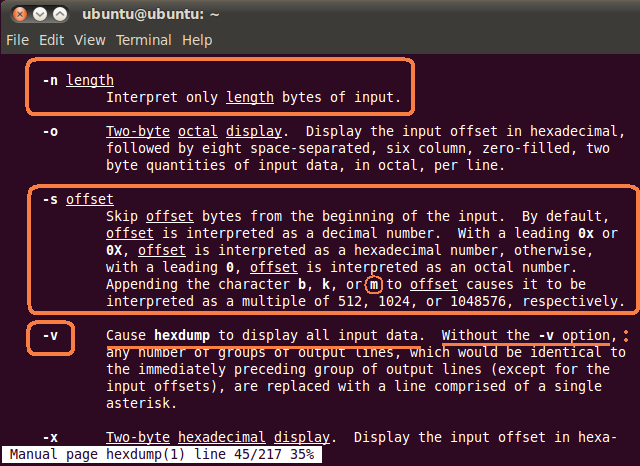
Figure 15.
Now we'll save a view of the VBR and its next 15 sectors (512 x 16 = 8192 bytes)
to a text file:
[ 7 ] | |
sudo hd -v -n 8192 /dev/sda1 > vbr1sda.txt |
|
Before continuing, we recommend you practice copying files from the ubuntu user's home directory (/home/ubuntu) to your USB drive, or
emailing them to yourself.
|